
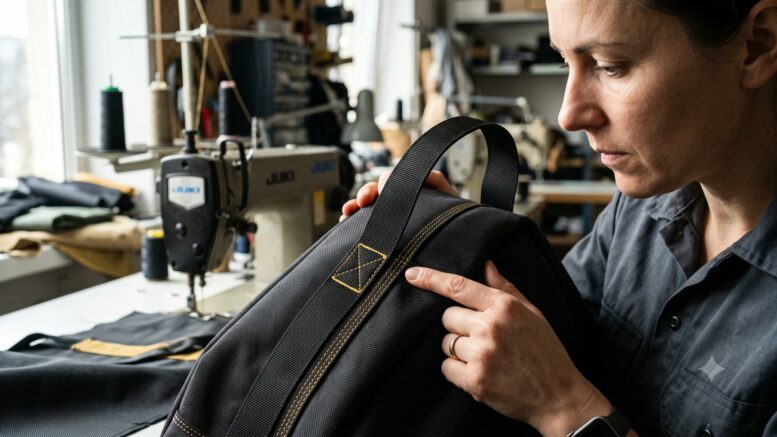
Seam failure rarely announces itself during a product review. It shows up in the field, a strap pulling free from a medical device carrier mid-shift, a handle tearing out of a loaded tool case, a pocket corner splitting on a tactical vest after a few weeks of hard use. The fabric held. The hardware held. The seam didn’t.
For product designers, engineers, and procurement teams specifying sewn products, custom cases, industrial bags, wearable equipment carriers, and tactical gear, seam construction is a structural decision with real consequences. Getting it wrong means warranty claims, field failures, and costly redesigns. Getting it right means a product that performs consistently across its intended service life.
This article covers the engineering decisions behind seam performance: what causes seam failure, where bar tack stitching applies, how reinforced stitching methods compare, and what to specify when working with a contract sewing partner.
Key Takeaways
- Seam engineering affects product reliability, load capacity, and safety, not just appearance. It is a structural decision, not a finishing detail.
- Seam failure has multiple root causes. Thread breakage, stitch unraveling, seam slippage, and fabric tear-out each require different engineering responses.
- Reinforced stitching encompasses thread selection, stitch density, seam type, backing layers, and load path orientation.
- Prototype testing under real load conditions is the only reliable way to validate seam performance before committing to production.
Why Seam Engineering Matters in Industrial Sewn Products
Seam engineering is not a single decision. It involves selecting the right combination of thread type and weight, stitch type, seam type, and stitch density for a product’s end-use requirements.
Each variable interacts with the others, and with the fabric itself. According to ASTM’s sewn seam testing guidance, these variables collectively determine sewn seam strength and structural integrity. No single factor can be optimized in isolation.
The commercial risk of poor seam construction compounds quickly. A product that passes visual inspection and even basic handling tests at the sampling stage can still fail in production at scale, or in use once the actual load and stress patterns are applied. The consequences include:
- Product returns and warranty claims
- Field failures that damage the equipment inside the product
- Safety exposure in wearable or load-bearing applications
- Production inconsistency when seam construction is not repeatable
- Redesign delays after prototyping reveals structural weaknesses
For medical device OEMs, defense contractors, and industrial equipment manufacturers, any of those outcomes carries costs well beyond the unit price of the sewn product.
Seams Carry Load, Movement, and Repeated Stress
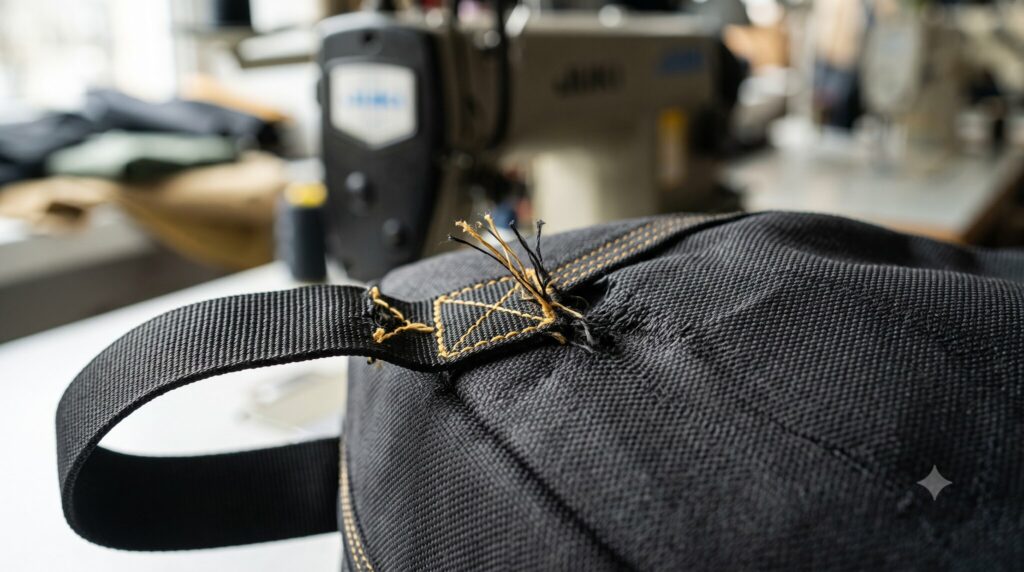
The stress a seam experiences in service is dynamic, not static. A bag is not simply filled and set down. It is lifted unevenly, dropped, overpacked, dragged across surfaces, compressed in storage, and pulled from different directions by different users over time. Each of those actions places force at specific points in the structure.
The highest-risk areas in most heavy-duty sewn products include:
- Strap attachment points and handle roots
- Bottom corners under loaded weight and abrasion
- Zipper ends and pocket corners
- D-ring and buckle attachment zones
- Webbing anchors and MOLLE attachment areas
- Adjustment points on wearable gear
- Internal dividers and equipment-retention panels that resist shifting loads
Seam construction at each of these points should reflect the direction and magnitude of the force it will actually experience; not just a general preference for “stronger stitching.”
Common Causes of Seam Failure
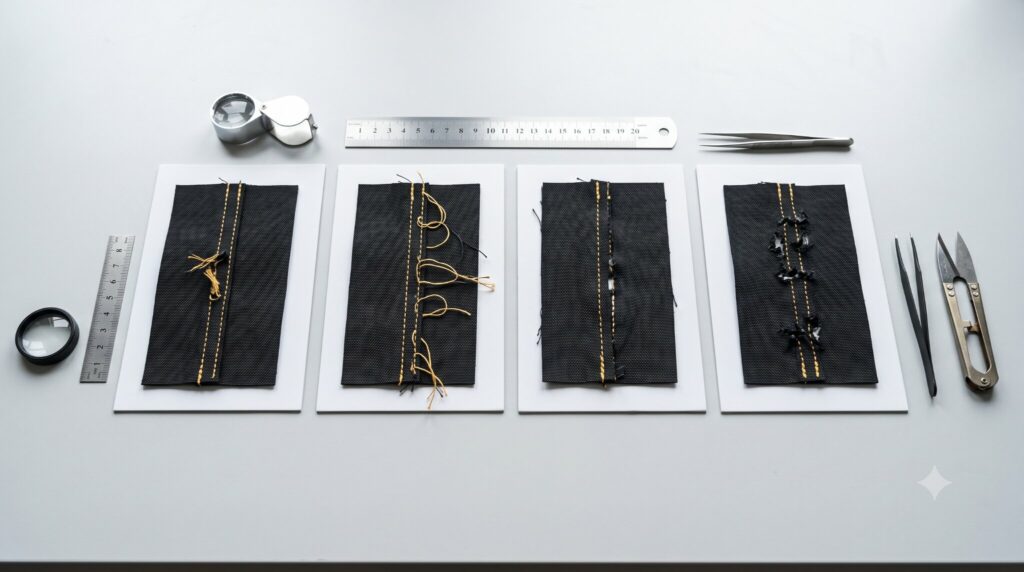
Understanding seam failure starts with identifying the failure mode. The correct fix depends entirely on why the seam failed, and assuming that more stitching solves every problem leads to new problems. ASTM D1683, which covers sewn seam strength in woven fabrics, identifies seam slippage (where the fabric yarns shift around the seam line rather than the thread breaking) as a distinct failure mode that requires a different engineering response than thread breakage or stitch unraveling.
The most common seam failure modes in industrial sewn products include:
- Thread breakage — often caused by thread weight mismatched to the application, poor tension balance, or mechanical wear
- Stitch unraveling — typically from improper locking of stitch starts and ends, or stitch type selection that doesn’t hold under dynamic load
- Seam slippage — fabric yarns pull through the seam, reducing structural integrity without the thread itself breaking
- Fabric tear-out at needle holes — too many needle penetrations in a dense pattern, or needle size mismatched to the material, perforates the fabric and creates a tear path
- Weak reinforcement at stress points — attachment points that receive concentrated force without adequate backing or stitch density
- Incorrect stitch density — too few stitches per inch reduces strength; too many can weaken the fabric itself
- Insufficient seam allowance — too little material at the seam edge gives the thread little to anchor against
- Load direction not accounted for — a seam oriented perpendicular to the primary stress direction will perform differently than one aligned with it
When the Stitch Is Stronger Than the Fabric
Overbuilding one element of the seam transfers stress elsewhere, sometimes to a weaker point. A dense bar tack applied to a lightweight or coated material can concentrate needle penetrations to the point where the fabric perforates and tears around the reinforcement rather than through it. The bar tack holds; the material around it fails.
This is a genuinely important distinction. Good seam engineering balances the strength of the stitch pattern against the material’s capacity to carry the thread and distribute the load. Reinforcement is not the same as over-engineering, and denser is not automatically better.
When the Seam Looks Good but Fails in Use
A clean, straight seam line is not evidence of a structurally sound seam. Visual inspection during sampling can confirm workmanship, but cannot validate load performance. ASTM D1683 specifically notes that test seams should be prepared by competent factory sewing operators, because improper stitching at the sample stage affects test results and masks production risks.
For procurement teams evaluating prototypes, this matters: sample appearance alone is not a reliable predictor of field performance. Prototype testing should replicate actual handling conditions, including the weight of the equipment inside, the way users will carry or adjust the product, and the environmental exposures it will face. Load points should be reviewed and validated before production begins, not after the first return comes in.
What Is Bar Tack Stitching?
Bar tack stitching is a compact, high-density reinforcement pattern designed to secure areas where concentrated stress is expected. It runs a tight series of stitches across a short span, typically perpendicular to the seam or webbing, creating a localized anchor point that resists pulling and tearing. It is standard practice in industrial sewing precisely because it concentrates reinforcement where it matters, without applying that density across an entire seam.
Bar tack stitching is one tool within a broader seam engineering strategy, not a universal fix. Its effectiveness depends on correct placement, appropriate fabric, and proper machine calibration.
Where Bar Tack Stitching Works Best
In our work across medical, military, and industrial sewn products, bar tack stitching typically delivers the most value at:
- Shoulder strap anchors on equipment bags and backpack-style medical device carriers
- Handle attachment points on tool cases and field cases
- Tactical webbing and MOLLE attachment points
- D-ring and buckle anchor zones
- Zipper ends on high-use compartments
- Adjustment tabs on wearable gear
- Pocket corners on load-bearing pockets
In each of these locations, force tends to act on a small area repeatedly and from a predictable direction. Bar tack construction addresses exactly that profile.
Where Bar Tack Stitching Is Not Enough
Bar tack stitching does not compensate for weak webbing, a poorly placed attachment point, insufficient seam allowance, or an overall seam layout that doesn’t account for the product’s load path. Applying a bar tack to a fundamentally flawed seam design adds cost without solving the problem.
That distinction separates stitch-type selection from seam engineering, and it is where early manufacturing input, during design and prototyping rather than after a field failure, makes the biggest difference.
Reinforced Stitching Methods for Heavy-Duty Sewn Products
Reinforced stitching in heavy-duty sewn products is not a single technique. It is a set of construction decisions that work together.
The main reinforcement methods we apply across heavy-duty sewing projects include:
- Bar tack stitching — localized reinforcement at stress concentration points
- Box stitch and box-X stitch — rectangular or crossed reinforcement patterns used at webbing and strap attachments
- Double-row stitching — parallel stitch lines that distribute load across a wider seam width
- Lapped seams — fabric layers overlapped and stitched, increasing material thickness at the seam
- Bound seams — binding tape applied to seam edges for abrasion resistance and edge integrity
- Reinforcement patches and backing layers — additional material laminated or stitched behind a high-stress area
- Webbing overlays — reinforcing webbing sewn over or beneath an attachment zone
- Locking stitch starts and ends — preventing unraveling at seam terminations, especially in dynamic-use products
- Appropriate thread and needle selection — thread weight, fiber type, and needle size matched to the material and application
How Engineers and Procurement Teams Should Specify Seam Requirements
When you bring a sewn product to a contract manufacturing partner for quoting, the seam construction decisions are already beginning. Procurement teams that specify seam requirements clearly get more accurate quotes, fewer sampling surprises, and faster paths to validated production.
Before engaging a contract sewing partner, work through these questions:
- What is the expected carried load or operating weight?
- How will the product be lifted or carried — one handle, two handles, shoulder strap, backpack configuration, or mounted to equipment?
- Where will the user pull, lift, adjust, or attach the product during normal use?
- Is the product exposed to abrasion, moisture, cleaning chemicals, heat, or outdoor environments?
- Does the product need to flex, compress, or conform to the body?
- What materials, thread types, and hardware are under consideration?
- Will prototypes and seam samples be tested before production approval?
- Are there internal inspection standards or acceptance criteria?
- Which failure mode carries the highest cost — seam opening, strap detachment, equipment damage, user discomfort, or production inconsistency?
That last question often clarifies the entire reinforcement strategy. A product where strap detachment could damage a $40,000 diagnostic instrument needs a different seam engineering approach than one where the primary concern is production consistency across 5,000 units.
Ask for the Construction Details, Not Just the Finished Product
A quote that includes only unit cost and lead time is not enough for a structurally critical sewn product. Before approving a sample for production, ask for the planned seam construction, reinforcement method, material stack, thread specification, and testing protocol. If a supplier cannot describe those details, that is information worth having before production begins.
Use Prototypes to Validate Seam Performance
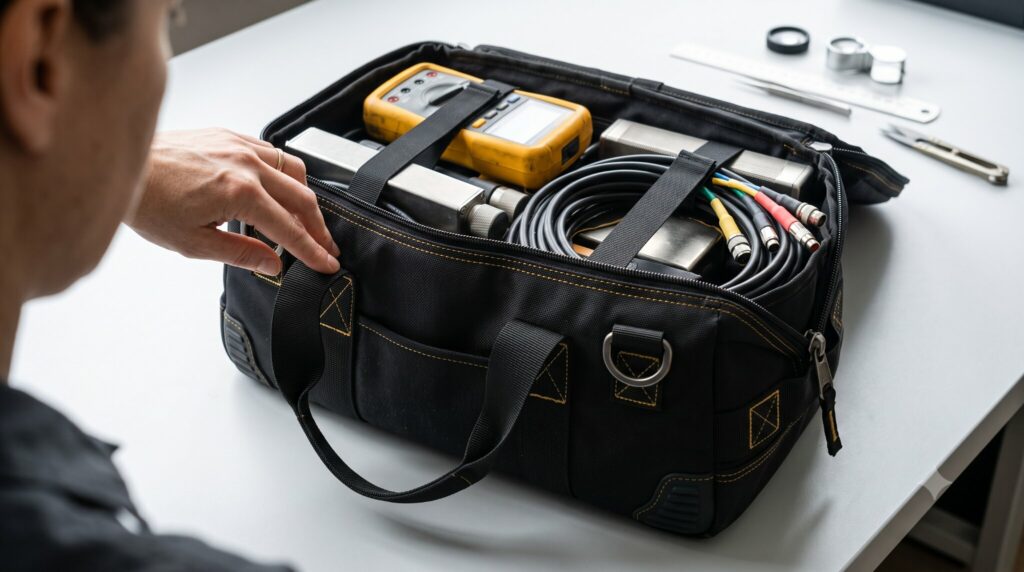
Prototype testing should replicate actual use conditions as closely as possible, with the real device or equipment inside, under the loads and handling patterns the product will experience in service.
We consistently recommend that teams developing custom soft-sided cases and carriers test fit and function with actual equipment or detailed technical files, accounting for all accessories, cables, and peripheral items that will be carried alongside the primary device.
A seam that performs under ideal sampling conditions may behave differently once the true load and use pattern is applied.
Working With a Contract Sewing Partner on Seam Engineering
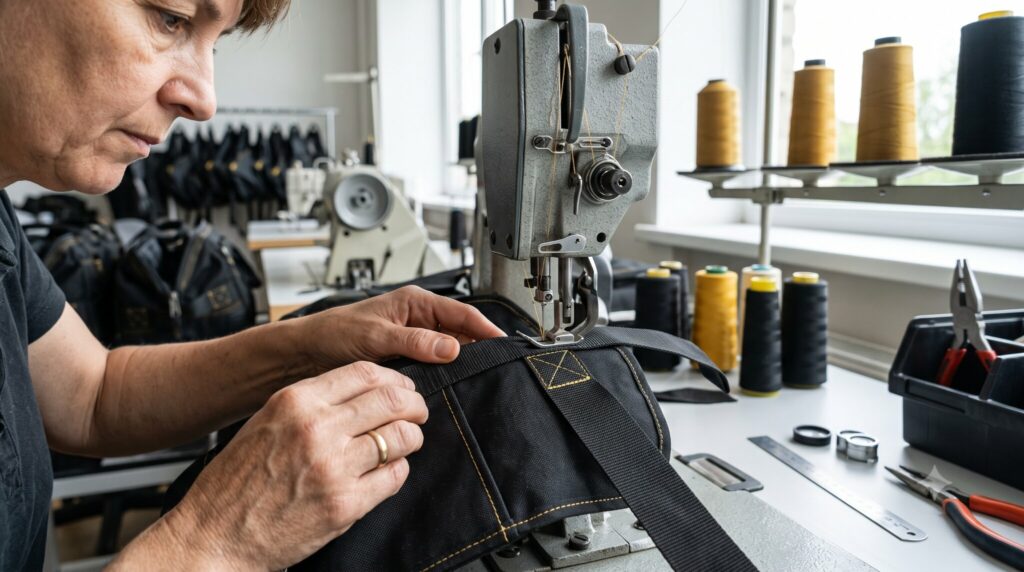
The most effective seam engineering happens before the first stitch. When our engineers review a product at the design or early prototype stage, we can identify load path issues, flag material-stitch compatibility concerns, recommend reinforcement strategies, and document construction requirements in a way that supports repeatable production.
That kind of early manufacturing input is particularly valuable for products where seam failure carries real operational or regulatory consequences: medical device carriers where equipment integrity matters, defense and tactical products that need to perform under field conditions, and industrial equipment cases that are expected to survive years of hard use.
Our team works across custom bags, cases, backpacks, wearable gear, holsters, straps, covers, and modular equipment carriers. We support programs at every scale, from initial soft goods design and engineering through prototype validation and full production.
Specify the Seam Construction Before You Specify the Product
If your team is developing a sewn product where seam performance is a reliability requirement, not just a quality preference, we can help you work through the engineering decisions before sampling begins. From initial design review through prototype validation and scalable production, our team brings the manufacturing experience to match seam construction to the demands of your application.
Request a quote or contact us to discuss your project’s seam and structural requirements.
Frequently Asked Questions
A tech pack should identify the seam type, stitch type, thread specification, stitch density, seam allowance, reinforcement pattern, and required backing materials for each structural area. Drawings should also show where stitch lines begin and end and how webbing or hardware connects to the main body.
Moisture, UV exposure, heat, cleaning chemicals, saltwater, and repeated abrasion can weaken seams even when the initial construction is strong. Thread may lose strength, coatings can crack around needle holes, and trapped moisture may accelerate material degradation. Products intended for outdoor, medical, marine, or industrial environments should therefore be tested after representative environmental exposure—not only when new.
A single pull test measures maximum strength but may not predict how a seam performs after months of repeated use. More realistic validation can include cyclic loading, loaded drop testing, abrasion testing, repeated opening and closing, vibration exposure, and accelerated environmental conditioning. Testing should reproduce how the product will actually be lifted, carried, adjusted, cleaned, and stored.
Additional reinforcement can increase sewing time, thread consumption, machine changes, operator handling, and inspection requirements. However, the most expensive-looking construction is not always the most effective. Strategic reinforcement at validated stress points is often more economical than adding extra stitch rows throughout the product. Early collaboration with a sewing manufacturer can identify where stronger construction provides measurable value and where it only adds complexity.
Resources:
1. “European, American and International Standards Online – iTeh Standards.” iTeh Standards, 2026, https://standards.iteh.ai/catalog/standards/astm/734a1255-edd2-4d28-9035-0ac24a4d026a/astm-d6193-16-2020. Accessed 15 July 2026.
2. “Standard Test Method for Failure in Sewn Seams of Woven Fabrics.” Astm.Org, 2022, https://store.astm.org/d1683_d1683m-17r18.html. Accessed 15 July 2026.